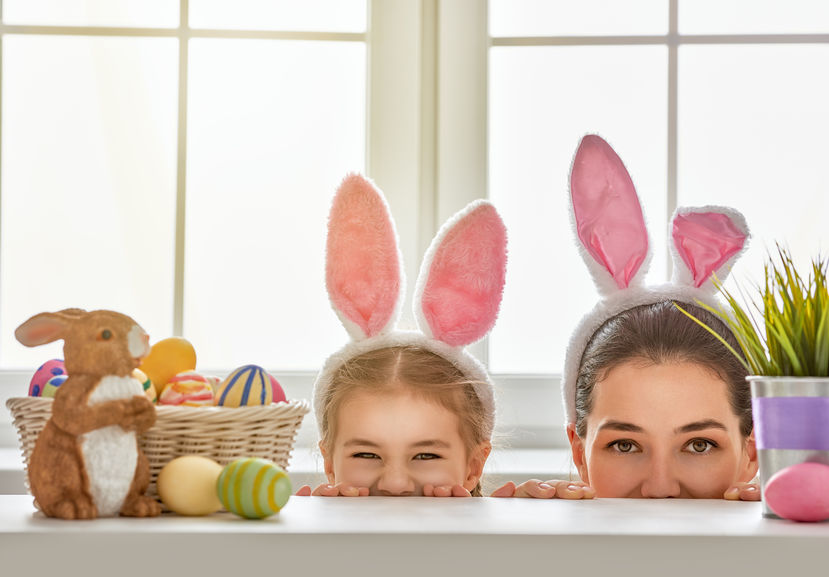
Are your children bursting with energy and creativity? Springtime is perfect for channeling their ideas and bright spirits into crafts. For colorful and imaginative crafts, you can gather your classroom or your kids to take on these activities.
Let little ones express themselves and grow from hands-on experiences. From cuddly bunnies to inventive insects, your DIY projects can be full of life. Check out these six crafts for Easter and spring that generate plenty of fun.
1. Toilet Paper Roll Bumblebee
Do you have any toilet paper rolls you’re ready to upcycle? Use your leftover rolls to build cute bumblebees for a simple craft. While they work on piecing together their bumblebees, kids can practice buzzing like these insects. Find the following materials to get started:
- Paper roll
- Googly eyes
- Yellow, light blue and black paper
- Scissors
- Glue stick
- Black marker
To lay the groundwork for your bee, cut yellow paper to fit your roll and black strips for thin stripes. Attach these with glue, leaving room for the face. Put on the googly eyes and draw a smile to complete the face. Then, use the remaining paper to make light blue wings and black antennae.
2. Carton Critters
Although some might think bugs are gross, most kids can have fun designing colorful critters. You and the children can turn egg cartons into crawly creations, which is an ideal project for young minds to explore possibilities and shape original inventions. To begin, collect these supplies:
- Egg cartons
- Scissors
- Paint
- Paintbrushes
- Googly eyes
- Glue
- Pom-poms
- Push pins
- Pipe cleaners
- Construction paper
Divide your egg carton into individual cups for the insects’ bodies. Apply your choice of paint to the outside of the cups and consider adding dots or squiggly lines for a pattern. Press your pushpins where you want your bug’s legs. Insert pipe cleaners through the holes for their furry legs.
3. Pom-Pom Bunnies
Your DIY time can feature Easter’s iconic animal in an adorable, plush form. Kids can construct tiny fluffy rabbits from pom-poms and play around with them when they’ve finished. Check out the following materials to create your bunnies:
- Soft yarn
- Pink and gray felt
- Pony beads
- Clear thread
- Hot glue
- Cotton balls
- Scissors
For the pom-poms, wrap the yarn around your fingers until it’s thick. Then tightly tie it off in the middle and snip each group of loops. Set aside a small pom-pom for a head and a larger one for a body. Cut teardrop shapes out of felt for ears. Finally, carefully hot glue black pony bead eyes, a pink bead nose, a few threads for whiskers and the felt ears onto the pom-poms.
4. Tissue Paper Stained Glass Flowers
Bring out the artist in kids by letting them map out a stained glass creation. They can create an enchanting display of flowers and shapes in spring colors. The following supplies are what you need to accomplish this project:
- Brightly colored tissue paper
- Waxed paper
- Tape
- Liquid starch
- Paintbrushes
- Contact paper
Tape waxed paper down on a table to serve as the window. Then, cut shapes such as flowers out of tissue paper. Paint liquid starch on the tissue paper pieces to stick them onto the window. Let it dry to view the finished masterpiece.
5. Yarn Easter Eggs
Rather than coloring eggs like usual, you can use yarn to assemble lightweight Easter eggs. Popping the balloons that act as the frame can also interest your kids. Check out the supplies to start crafting:
- Water balloons
- Liquid starch or Mod Podge
- Yarn
- Baking sheet
Fill the balloons with water and tie them. Put your liquid starch or Mod Podge in a bowl, and add enough yarn to cover the balloons. Briefly leave the yarn to soak, then wrap the balloons in the yarn. Place the balloons on a baking sheet to dry.
6. Cupcake Liner Butterflies
Another pretty critter from spring, butterflies, can catch the eye of children. You can make easy butterflies from spare cupcake liners for an effortless activity. Here are the materials you’ll need:
- Cupcake liners
- Clothespins
- Glue
- Glitter
- String or yarn
Fold your cupcake liners in quarters for the butterfly wings, then glue their inner points together. Attach a clothespin over the glued portion. Finally, decorate the clothespin body with glitter and string antennae.
Try a Fun Springtime Project
With bold colors and lively critters, kids can thrive with a fun activity. Get children crafting with an exciting project this spring. You can stimulate their imagination and keep their little hands busy with a creative project.
 Kacey Bradley is the lifestyle and travel blogger for The Drifter Collective, an eclectic lifestyle blog that expresses various forms of style through the influence of culture and the world around us. Kacey graduated with a degree in Communications while working for a lifestyle magazine. She has been able to fully embrace herself with the knowledge of nature, the power of exploring other locations and cultures, all while portraying her love for the world around her through her visually pleasing, culturally embracing and inspiring posts. Along with writing for her blog, she frequently writes for sites like US Travel News, Thought Catalog, Style Me Pretty, Tripping.com and more! Follow Kacey on Twitter and subscribe to her blog to keep up with her travels and inspiring posts!
Like what you read? JOIN the Mommybites community to get the latest on FREE online classes, parenting advice, events, childcare listings, casting calls & raffles, and our Parents With Nannies Facebook group. SIGN UP NOW!


